One good way to make sure that you are always using the correct font in Word 2011 is to set a new default. This will ensure that any new document you create will be using the new default font that you have set using our steps below.
Changing the Word 2011 Default Font
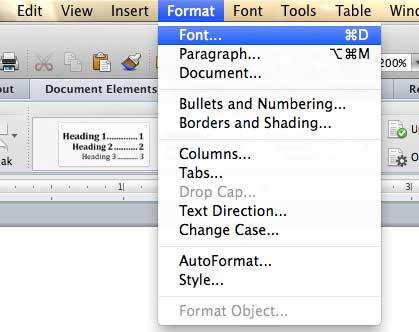
Note that this method is going to change the default font for the Normal Word template. If you have other templates that you use, the font will not be changed for those unless you follow these steps for those templates as well. Step 1: Open Word 2011. Step 2: Click Format at the top of the screen, then click Font.
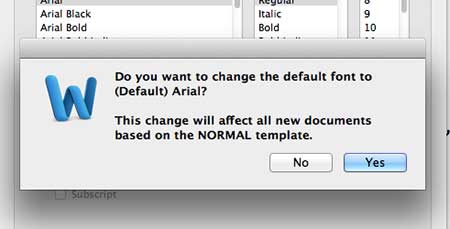
Step 3: Select the Font that you want to use as your default, then click the Default button at the bottom-left corner of the window.
Step 4: Click the Yes button to confirm that you want to set the chosen fault as your new default in Word 2011.
Are you worried about losing information that you have typed into your document, but haven’t yet saved? Learn how to increase the AutoRecover frequency in Word 2011 so that Word automatically saves copies of your documents in case the computer shuts down unexpectedly, or Word 2011 crashes. After receiving his Bachelor’s and Master’s degrees in Computer Science he spent several years working in IT management for small businesses. However, he now works full time writing content online and creating websites. His main writing topics include iPhones, Microsoft Office, Google Apps, Android, and Photoshop, but he has also written about many other tech topics as well. Read his full bio here.
You may opt out at any time. Read our Privacy Policy